前段时间公司给配了新电脑, 刚好把电脑重新折腾了一下, 这篇文章记录了一些自己的小心得, 方便日后回顾.
系统通用设置
参考少数派的配置文章:10 个实用技巧,让 Finder 带你飞 - 少数派
Finder 窗口提供更多信息
自定义 toolbar
显示文件扩展名
标题栏显示完整路径
defaults write com.apple.finder _FXShowPosixPathInTitle -bool YES显示隐藏文件
defaults write com.apple.finder AppleShowAllFiles -boolean true ; killall Finder显示用户资料库
chflags nohidden ~/Library/
同步 SSH Key
- 使用已有的 Key: 利用 AirDrop 从原先的电脑上获取 SSH Key, 文件路径应该在根目录的
.ssh文件夹中. - 使用全新的 Key: 参考 Github 的文档生成新的 SSH Key
Surge Mac 安装
- 官方网站: 传送门
- 后续的功能安装依赖翻墙!
Dracula Pro 主题配置
- Dracula — A dark theme for iTerm and 50+ apps
- Dracula Pro - Be more productive
- 主要使用 iTerm2, Xcode, ZSH, JetBrain 的主题
Fira Code 编程字体
Xcode 的安装
- App Store 下载并安装 Xcode
- 用
xcode-select -p检查 Xcode Command Line Tool 是否安装:如果安装则返回安装目录,否则返回 2 - 激活 command line tool:
Preference -> Location -> command line tools - 安装 Dracula 主题和 Fira Code 字体
VSCode 安装
- 官方网址: 传送门
- Visual Studio Code 内置了同步配置功能, 通过 CMD + Shift + P 触发 Command Palette 后输入 Setting Sync 即可!
- 安装 Dracula 主题和 Fira Code 字体
Terminal
- 安装 Dracula 主题和 Fira Code 字体
iTerm 2
- 解决 Preference 里 Startup 的 Warning
- 关闭 MacOS 系统中 General 选项里的
Close windows when quitting an app的选项
- 关闭 MacOS 系统中 General 选项里的
- 设置无限回滚
- 安装好之后在
Preference -> Profiles -> Terminal -> Scrollback Buffer中勾选上Unlimted scrollback
- 安装好之后在
- 开启单词跳转(option + → or ←),单词删除(option + backspace) 的功能
- 在
iTerm → Preferences → Profiles → Keys → Key Mappings -> Load Preset… → Natural Text Editing
- 在
- 光标设置
iTerm2 → Preferences → Profiles → Text → Blinking cursor : ON
- 背景色设置
iTerm2 → Preferences → Profiles → window → transparency
- 安装 Dracula 主题和 Fira Code 字体
Homebrew 安装
官方网址: 传送门
使用系统自带的 Terminal 安装, 命令如下
/bin/bash -c "$(curl -fsSL https://raw.githubusercontent.com/Homebrew/install/HEAD/install.sh)"
ZSH 配置
- macOS Monterey 开始, shell 的配置已经默认是 ZSH 了!
Oh My ZSH
官方网站: 传送门
安装 oh my zsh
sh -c "$(curl -fsSL https://raw.github.com/ohmyzsh/ohmyzsh/master/tools/install.sh)"安装 Dracula 主题
移动
dracula-pro.zsh-theme到 oh-my-zsh 的主题文件夹:~/.oh-my-zsh/themes/dracula-pro.zsh-theme在
~/.zshrc中修改配置ZSH_THEME="dracula-pro"
Oh My ZSH 插件
原生插件
colored-man-pages: man 命令高亮
git: git 相关的快捷命令
xcode: Xcode 相关的快捷命令(xc, xcdd)
在
.zshrc文件中修改plugins=(git colored-man-pages xcode)
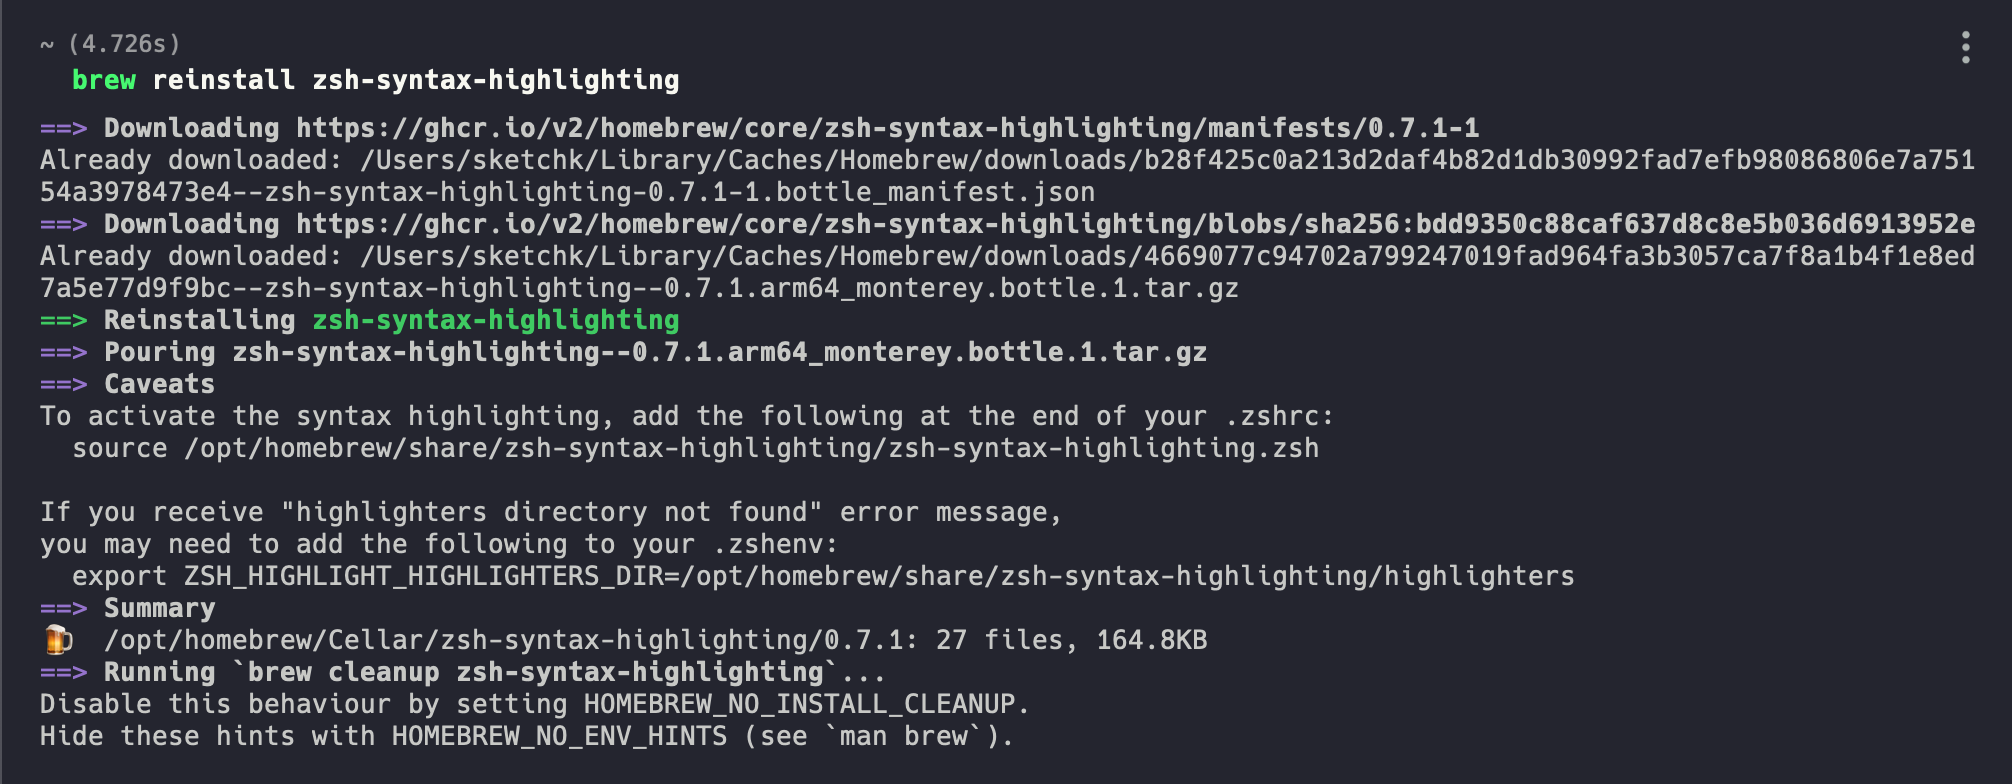
zsh-syntax-highlighting: 命令高亮
- 安装命令
brew install zsh-syntax-highlighting - 根据命令行的提示在
.zshrc增加相关内容(Caveats 里的提示)
- 安装命令

bat:一个 Cat 的增强版工具
- 安装命令
brew install bat
- 安装命令
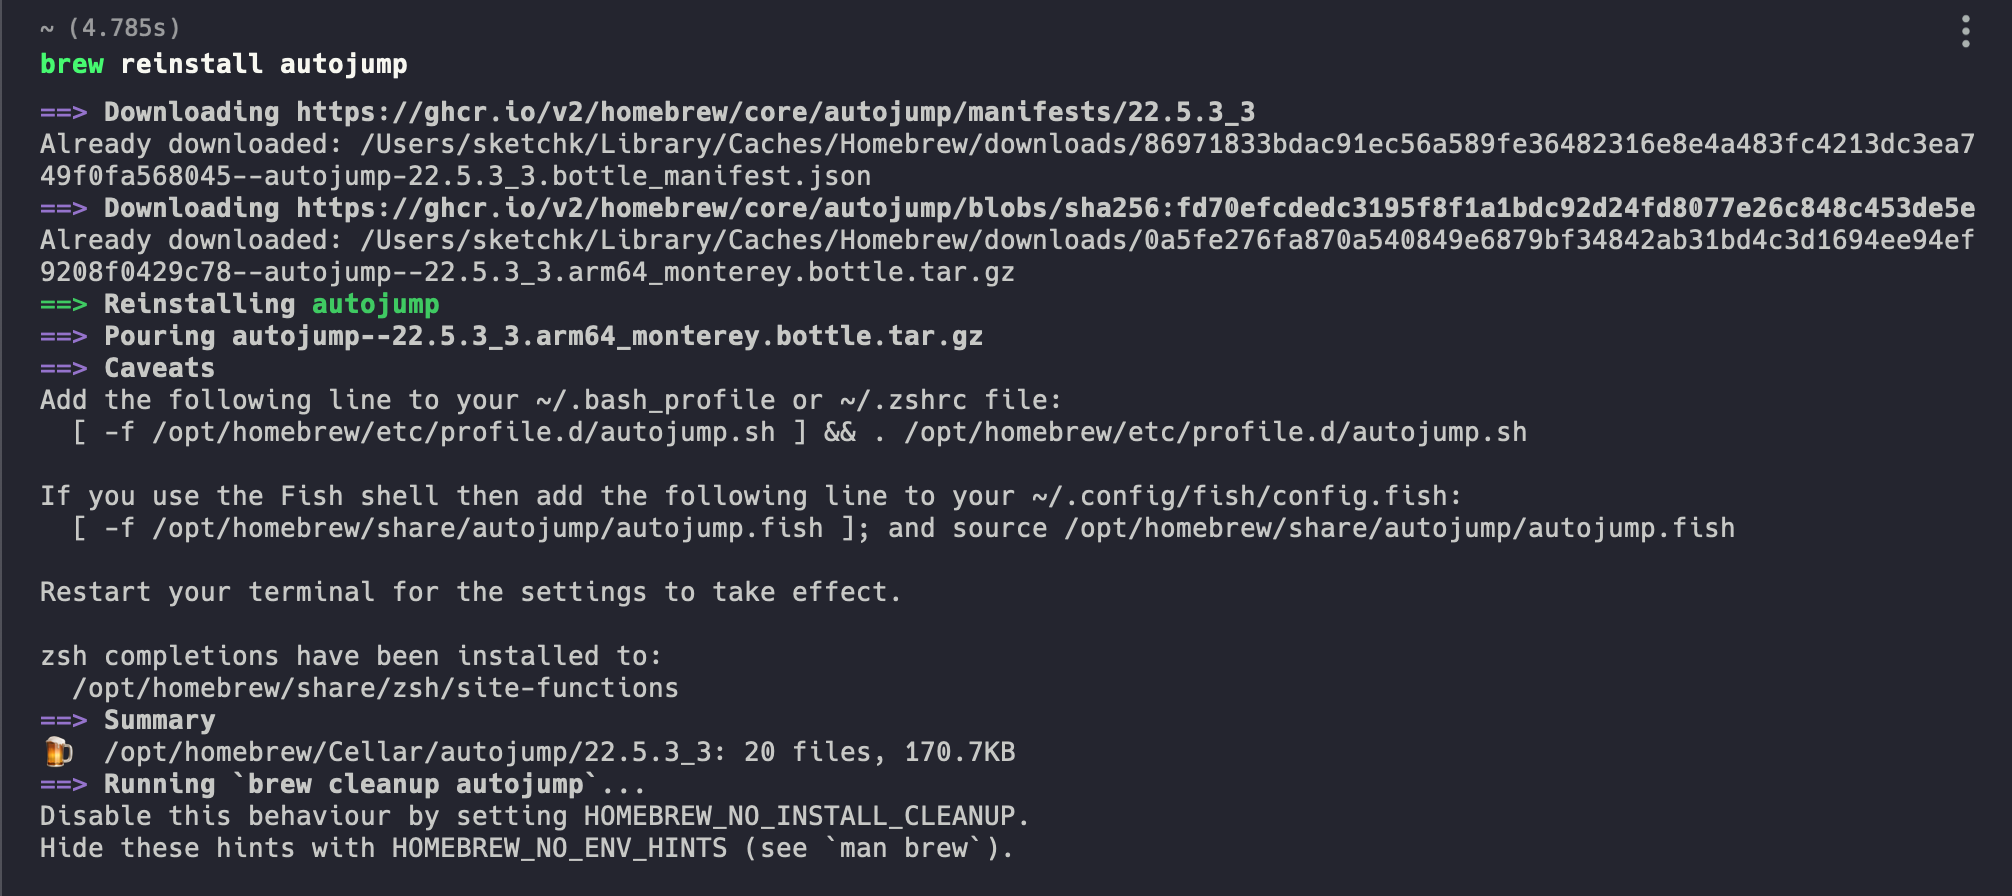
autojump: 自动跳转到已经进入过的文件夹
- 安装命令
brew install autojump - 根据命令行的提示在
.zshrc增加相关内容(Caveats 里的提示)
- 安装命令

语言环境配置
NodeJS && NVM
官方地址: 传送门
- 需要提前通过 homebrew 安装
git,curl - 安装命令如下
curl -o- https://raw.githubusercontent.com/nvm-sh/nvm/v0.39.1/install.sh | bash成功后, 安装 node 环境, 例如
nvm install 16.13.1
- 需要提前通过 homebrew 安装
注意事项
安装完毕后,需要在 zshrc 检查尾部是否有添加下面的内容
export NVM_DIR="$([ -z "${XDG_CONFIG_HOME-}" ] && printf %s "${HOME}/.nvm" || printf %s "${XDG_CONFIG_HOME}/nvm")"[ -s "$NVM_DIR/nvm.sh" ] && \. "$NVM_DIR/nvm.sh" # This loads nvm
Ruby && RVM
官方地址: 传送门
需要提前通过 homebrew 安装
curl,gpg2brew install curl gpg2虽然官网说要用 gpg2 来生成 GPG key, 但发现通过 homebrew 安装后并没有 gpg2 命令,只有 gpg, 所以用 gpg 执行下面的命令
gpg --recv-keys 409B6B1796C275462A1703113804BB82D39DC0E3 7D2BAF1CF37B13E2069D6956105BD0E739499BDB安装命令如下
\curl -sSL https://get.rvm.io | bash -s stable成功后, 安装 ruby 环境, 例如
rvm install 2.6.5安装 CocoaPods
sudo gem install cocoapods
注意事项
- 执行 gpg 命令出现语言问题的情况,需要在
.zshrc里声明当前环境下的语言export LANG=en_US.UTF-8
- 执行 gpg 命令出现语言问题的情况,需要在
Python && pyenv
官方地址: 传送门
直接通过 homebrew 进行安装即可
brew updatebrew install pyenv在
.zshrc中添加如下环境变量export PATH="$HOME/.pyenv/bin:$PATH"eval "$(pyenv init --path)"eval "$(pyenv virtualenv-init -)"成功后安装 Python 环境
pyenv install 3.10.1
注意事项
在某些情况下会出现奇怪的问题, 看起像是某些构建过程中找到了 pyenv 环境里的 Python, 从而导致错误, 可以在
.zshrc里添加如下环境变量alias brew='env PATH="${PATH//$(pyenv root)\/shims:/}" brew'